Windows
The instructions below help you install a standalone Hummingbot instance from source on a Windows machine.
Watch the video:
Prerequisites
Supported versions:
- Windows 10 or later
- WSL 2
Windows Subsystem for Linux 2 (WSL 2)
Hummingbot is designed for Unix-based environment such as macOS or Linux, so Windows users should first install Windows Subsystem for Linux 2 (WSL 2) before installing Hummingbot from source.
Note that:
- You must be running Windows 10 version 2004 and higher (Build 19041 and higher) or Windows 11
- Virtualization needs to be enabled under your BIOS setting.
To troubleshoot WSL issues, see this link
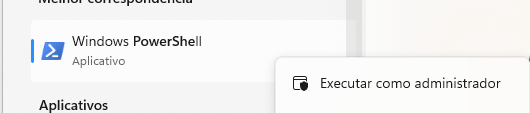
1. Open Powershell as admin
Search for "Powershell" on the start menu, right-click and "run as admin"
2. Run the Install WSL commmand
By default, WSL uses the Ubuntu distribution of Linux, which is compatible for Hummingbot.
3. Start WSL
After the installation, just type wsl on the Powershell or on the Command prompt.
Note that the first time WSL is executed, you will be asked to create a new default username/password.
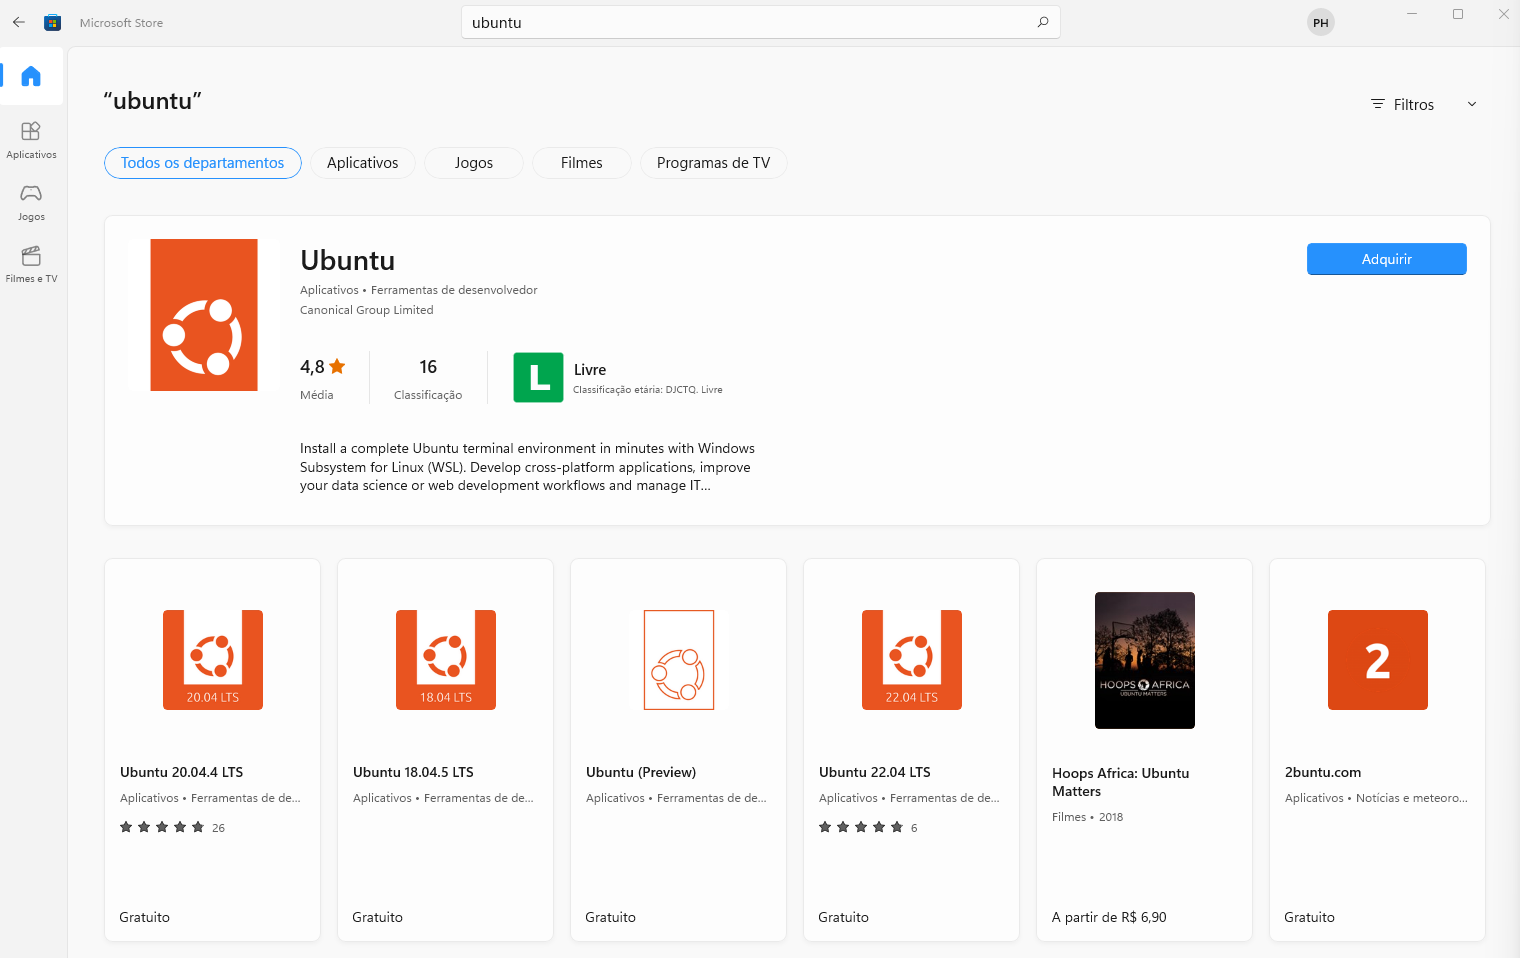
4. Install Ubuntu from Windows Store
Alternatively, after WSL is installed, search for Ubuntu in the Windows Store and install it as an app in the Start menu. That way, you don't have to run Powershell every time you use Hummingbot.
Install Hummingbot
Open the Ubuntu terminal and install Hummingbot from source following the Linux instructions or run the commands below:
git clone https://github.com/hummingbot/hummingbot
cd hummingbot
./install
conda activate hummingbot
./compile