Post-Installation
Folder structure
Hummingbot is local client software that you run on your own machine, so you have full control over how it’s configured and where you save your files. No one else can access your data and secrets!
If you installed Hummingbot via Docker, your /hummingbot_files folder contains the following folders:
If you installed Hummingbot from source, you should also see a hummingbot folder that contains the core Hummingbot classes, components, and connectors:
Here is what each folder contains:
-
/conf: General folder for configuration files -
/conf/connectors: Exchange API keys encrypted by your password -
/conf/strategies: Strategy config files that you cancreateandimport -
/logs: Log files generated by your scripts and strategies -
/data: SQLite databases and CSV files for the trades executed by your scripts and strategies -
/scripts: This folder contains the sample scripts, and you can add new scripts here to make them available to thestartcommand
Launching Hummingbot
Docker
If you used Docker Compose to deploy Hummingbot, you can launch the network from the directory that contains the docker-compose.yml file with:
Then, attach to it (typically, the container name is hummingbot):
If you are using the older helper script method, use the hummingbot-start.sh script from the Bash Scripts repo.
Source
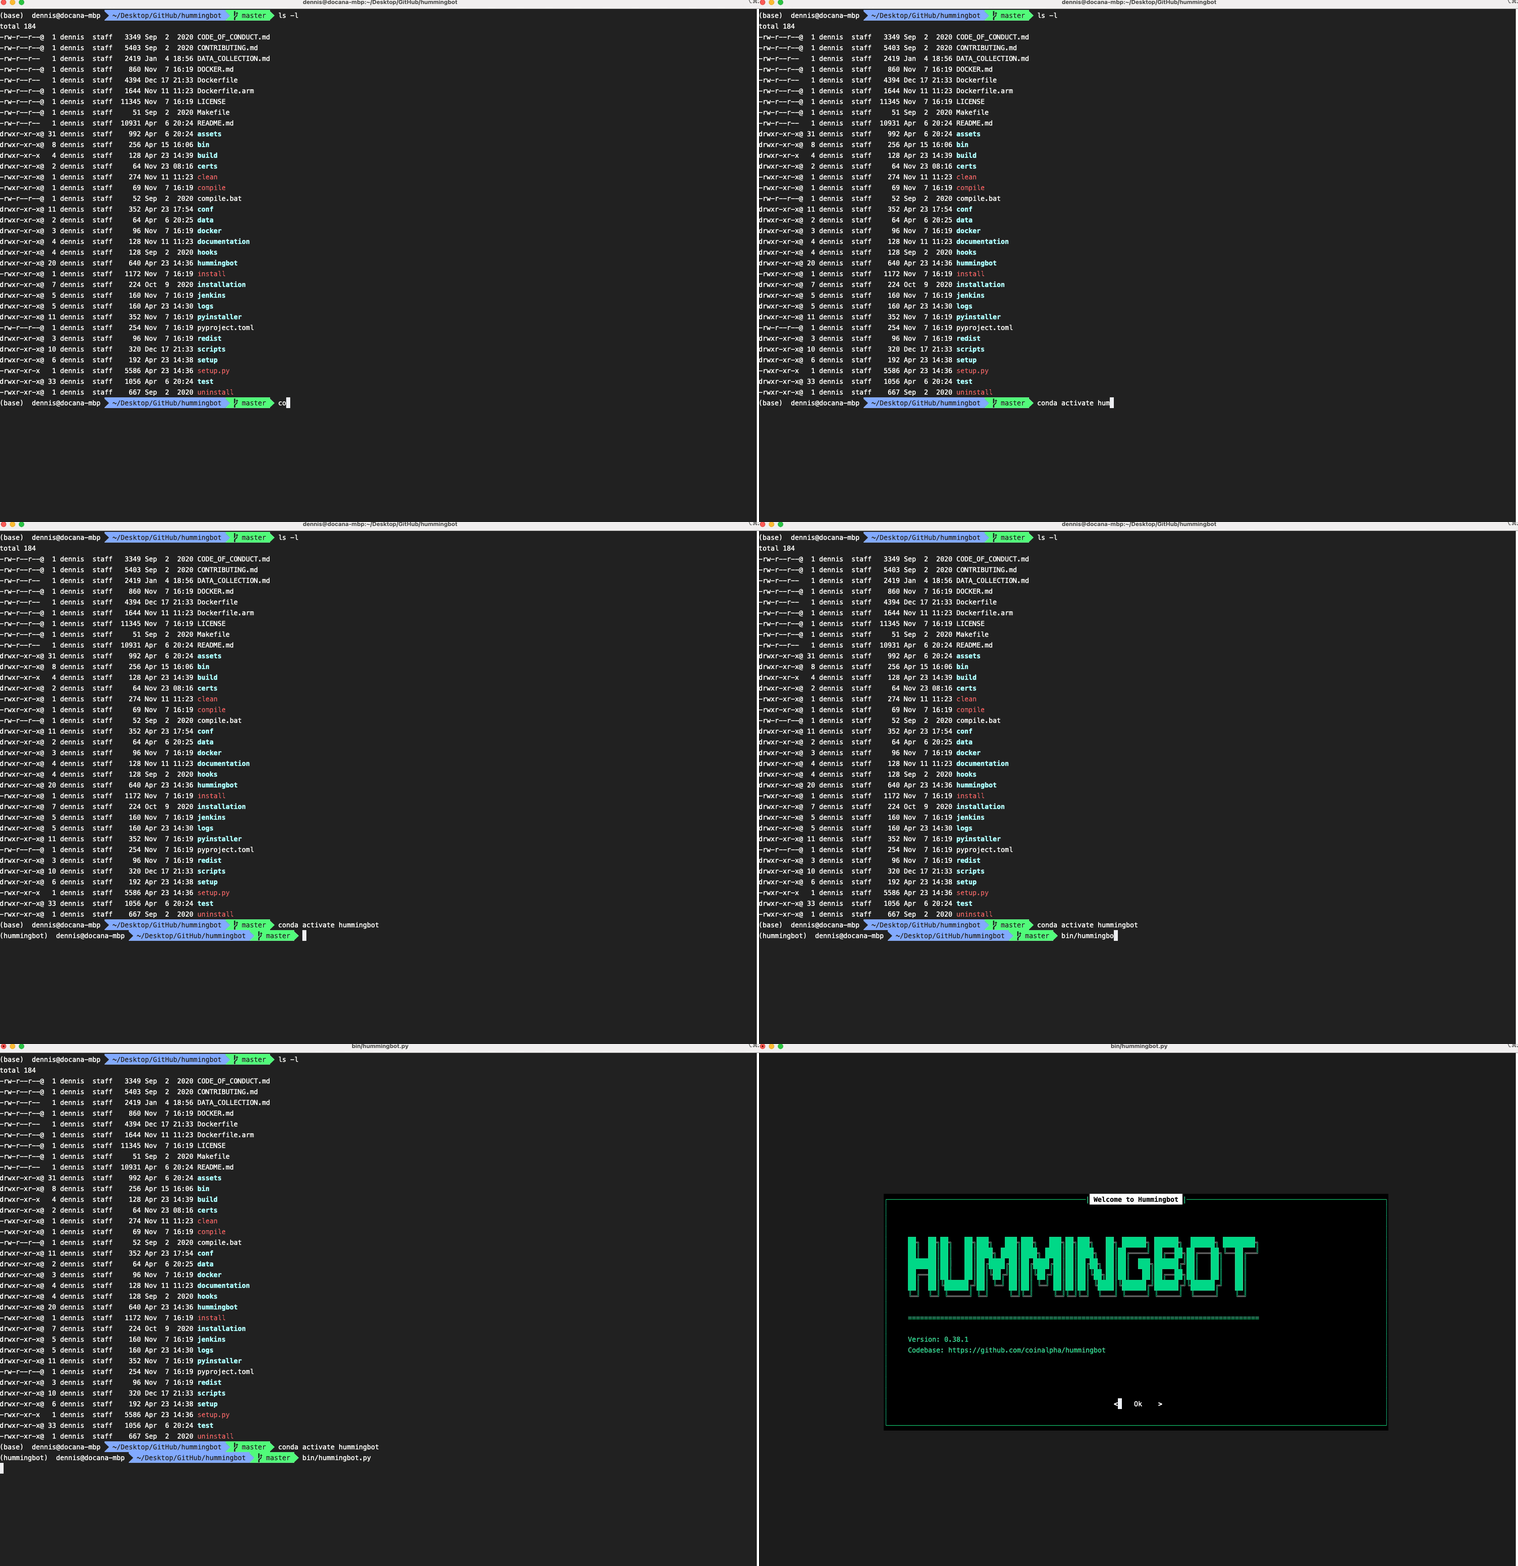
If you installed Hummingbot from source, make sure that the hummingbot conda environment has been activated before you run Hummingbot:
If you have made any changes, make sure to re-compile the code with ./compile to ensure that any changes to Cython files are compiled before running Hummingbot:
Afterwards, from the root directory, run this command:

Exiting Hummingbot
Running the exit command cancels all outstanding orders and exit the Hummingbot interface. In case of errors, the command exit -f will force the application to close.
Tip
You can also press the keyboard shortcut CTRL + C twice to exit.
Updating Hummingbot
Once a month, we publish an official release of Hummingbot and Hummingbot Gateway, marked by code release on Github and DockerHub and the publication of the release notes.
Subscribe to the Hummingbot Newletter to get notified when a new release ships.
Docker
Users of the Docker version of Hummingbot can update their instances to the latest image, which is updated with each release (e.g. hummingbot/hummingbot:latest).
See Useful Docker Commands for how to manage your containers. For example, you can update the Compose project for the latest images:
Source
For users who have installed from source, they can update their Hummingbot branches to master (with every release) or development branch (updated continually):
Keeping bots running in background
Docker
Press keys Ctrl + P then Ctrl + Q in sequence to detach from Docker, i.e., return to the command line. This exits out of Hummingbot without shutting down the container instance.
Use docker attach [container_name] to attach to an already-running bot in the background.
Source
Use either tmux or screen to run multiple bots installed from source. Check out these external links how to use them.
When using screen to run an instance in the background, run either of the following commands: screen or screen -S $NAME, where $NAME is what you wish to call this background instance. Use the latter to be more explicit if you want to run multiple bots.
Navigate to the folder where your separate Hummingbot is installed, then start the bot like normal.
To exit the screen (detach), press Ctrl + A then Ctrl + D in sequence.
To list all running instances, use screen -ls.

Log back into the screen by using either screen or screen -r $NAME to open a specific instance.
Thank you to Discord user @matha for this question and @pfj for the solution!