MacOS
The instructions below help you install a standalone Hummingbot instance from source on Apple MacOS machines.
Watch the video:
Prerequisites
- MacOS 10.12.6+
- Intel x86
- Apple M1 / M2 / M3
- Memory: 4 GB RAM per instance
- Storage: 3 GB HDD space per instance
XCode Command Line Tools
Xcode Command Line Tools are required. You can run the following command from Terminal to install them:
Miniconda / Anaconda
Don't use Homebrew!
We don't recommend installing conda through Homebrew as this may cause issues during installation. Instead, downloading the installer directly from the Anaconda website.
Hummingbot requires Python 3 and other libraries. To manage these dependencies, Hummingbot uses conda, an open source environment manager for Python. You can install conda using either Miniconda or Anaconda.
Download the installer for your environment and run it:
https://repo.anaconda.com/miniconda/Miniconda3-latest-MacOSX-x86_64.sh
MacOS with Intel x86:
curl -o Miniconda3-latest-MacOSX-x86_64.sh https://repo.anaconda.com/miniconda/Miniconda3-latest-MacOSX-x86_64.sh
bash Miniconda3-latest-MacOSX-x86_64.sh
MacOS with Apple M1:
curl -o Miniconda3-latest-MacOSX-arm64.sh https://repo.anaconda.com/miniconda/Miniconda3-latest-MacOSX-arm64.sh
bash Miniconda3-latest-MacOSX-arm64.sh
Follow the prompts on the installer screens. If you are unsure about any setting, accept the defaults. You can change them later.
To make the changes take effect, close and then re-open your terminal window.
Install Hummingbot
After you have installed the dependencies, follow the steps below to install Hummingbot from source:
git clone https://github.com/hummingbot/hummingbot.git
cd hummingbot
./install
conda activate hummingbot
./compile
Note
The conda activate hummingbot command should add a (hummingbot) label in front of your command line, which lets you know that you are inside the conda environment. If not, check if conda was installed correctly and reinstall if necessary.
Launch Hummingbot
From inside the conda environment, run the following command to launch Hummingbot:
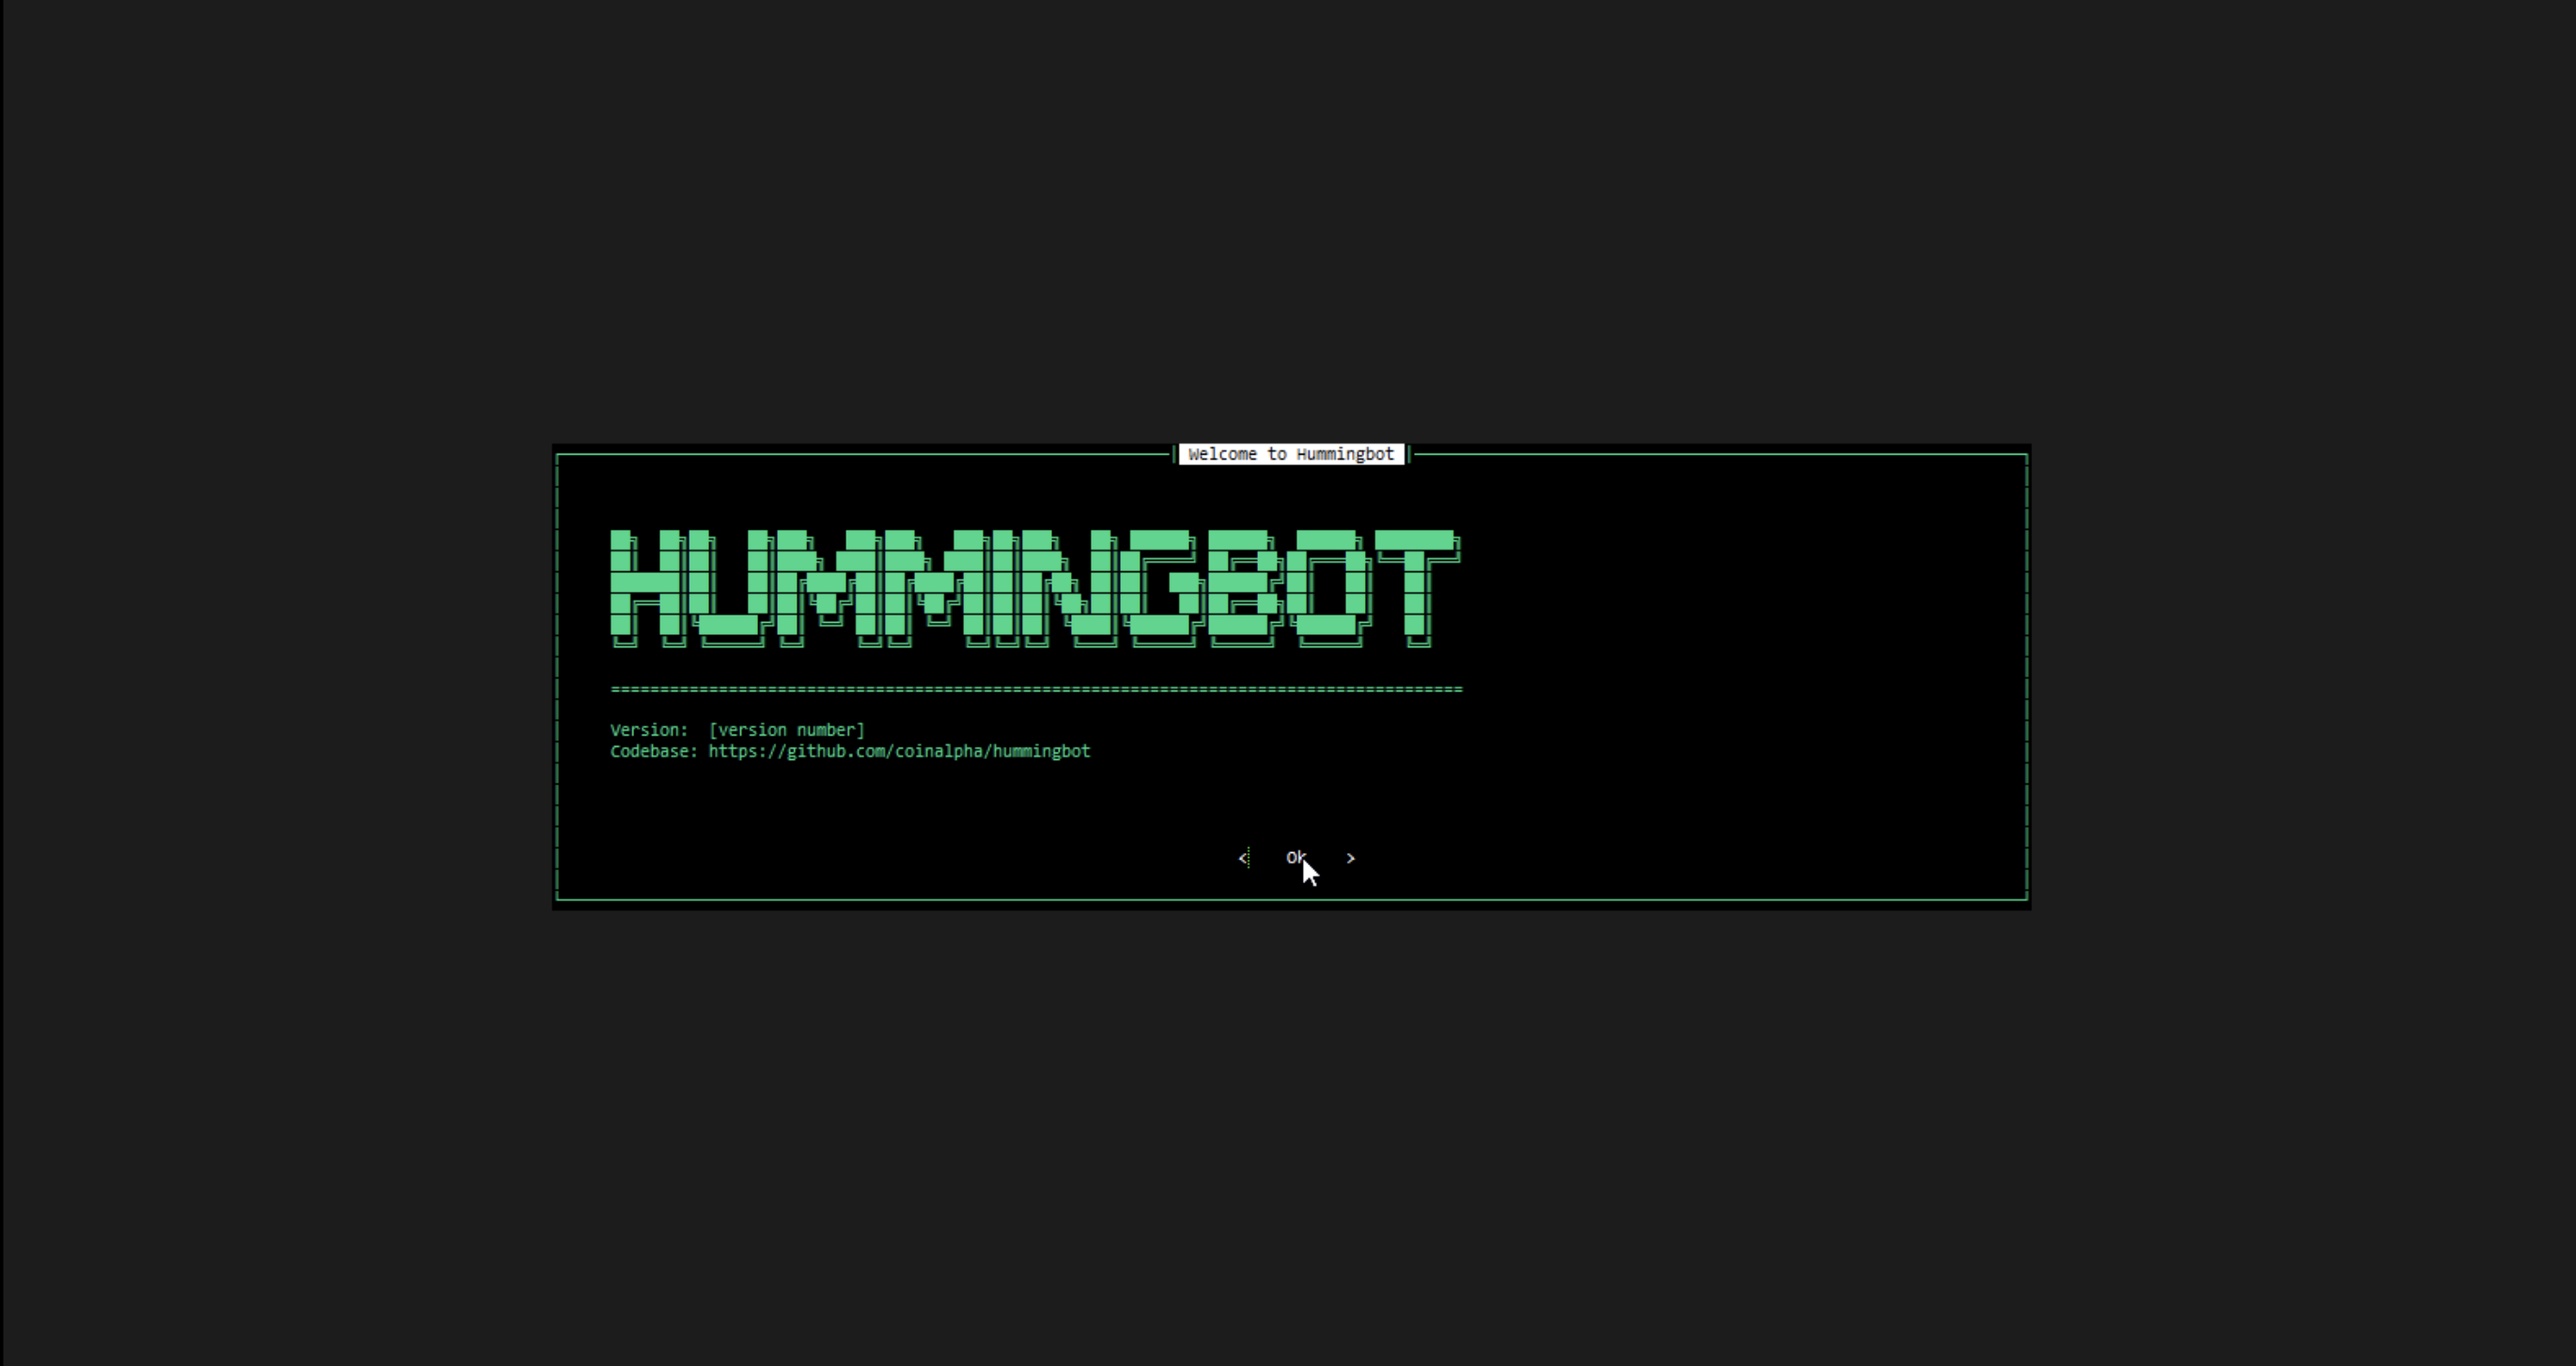
You should see the Hummingbot welcome screen:
To get started with Hummingbot, check out the following docs:
If you need to run DEX bots, install Hummingbot Gateway.
Other Useful Commands
Update Hummingbot to latest master release
Update Hummingbot to development branch
Removed compiled files
Remove hummingbot conda environment
conda command and ZSH
If the conda command is not available in your path, this may be because you are using ZSH or another shell.
To fix this, copy the code snippet below to your .zshrc or similar file. By default, Anaconda only adds it to your .bash_profile file, which makes the conda command available in your root path.
Use an IDE to edit the .zshrc file, and copy and paste the following code to the bottom of the file:
__conda_setup="$(CONDA_REPORT_ERRORS=false '/anaconda3/bin/conda' shell.bash hook 2> /dev/null)"
if [ $? -eq 0 ]; then
    \eval "$__conda_setup"
else
    if [ -f "/anaconda3/etc/profile.d/conda.sh" ]; then
        . "/anaconda3/etc/profile.d/conda.sh"
        CONDA_CHANGEPS1=false conda activate base
    else
        \export PATH="/anaconda3/bin:$PATH"
    fi
fi
unset __conda_setup
Save the changes, and run the conda init command to initialize them:
conda command from your path.